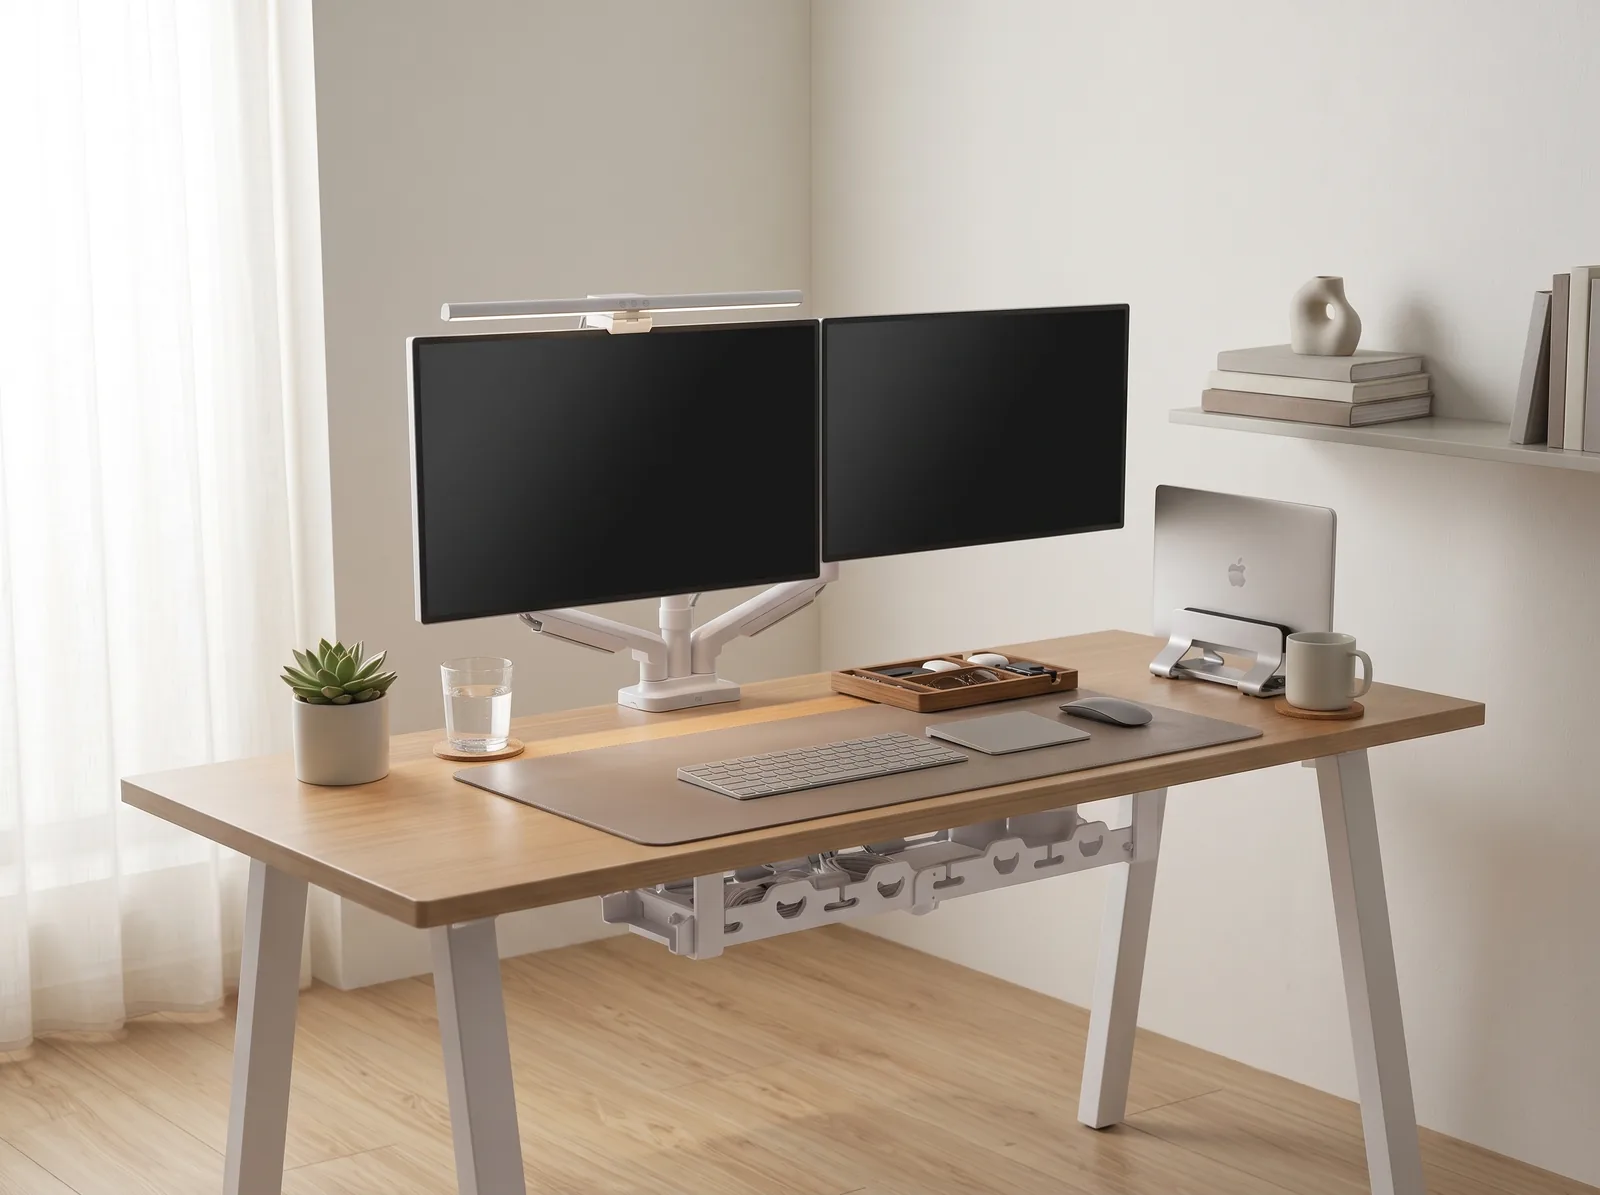
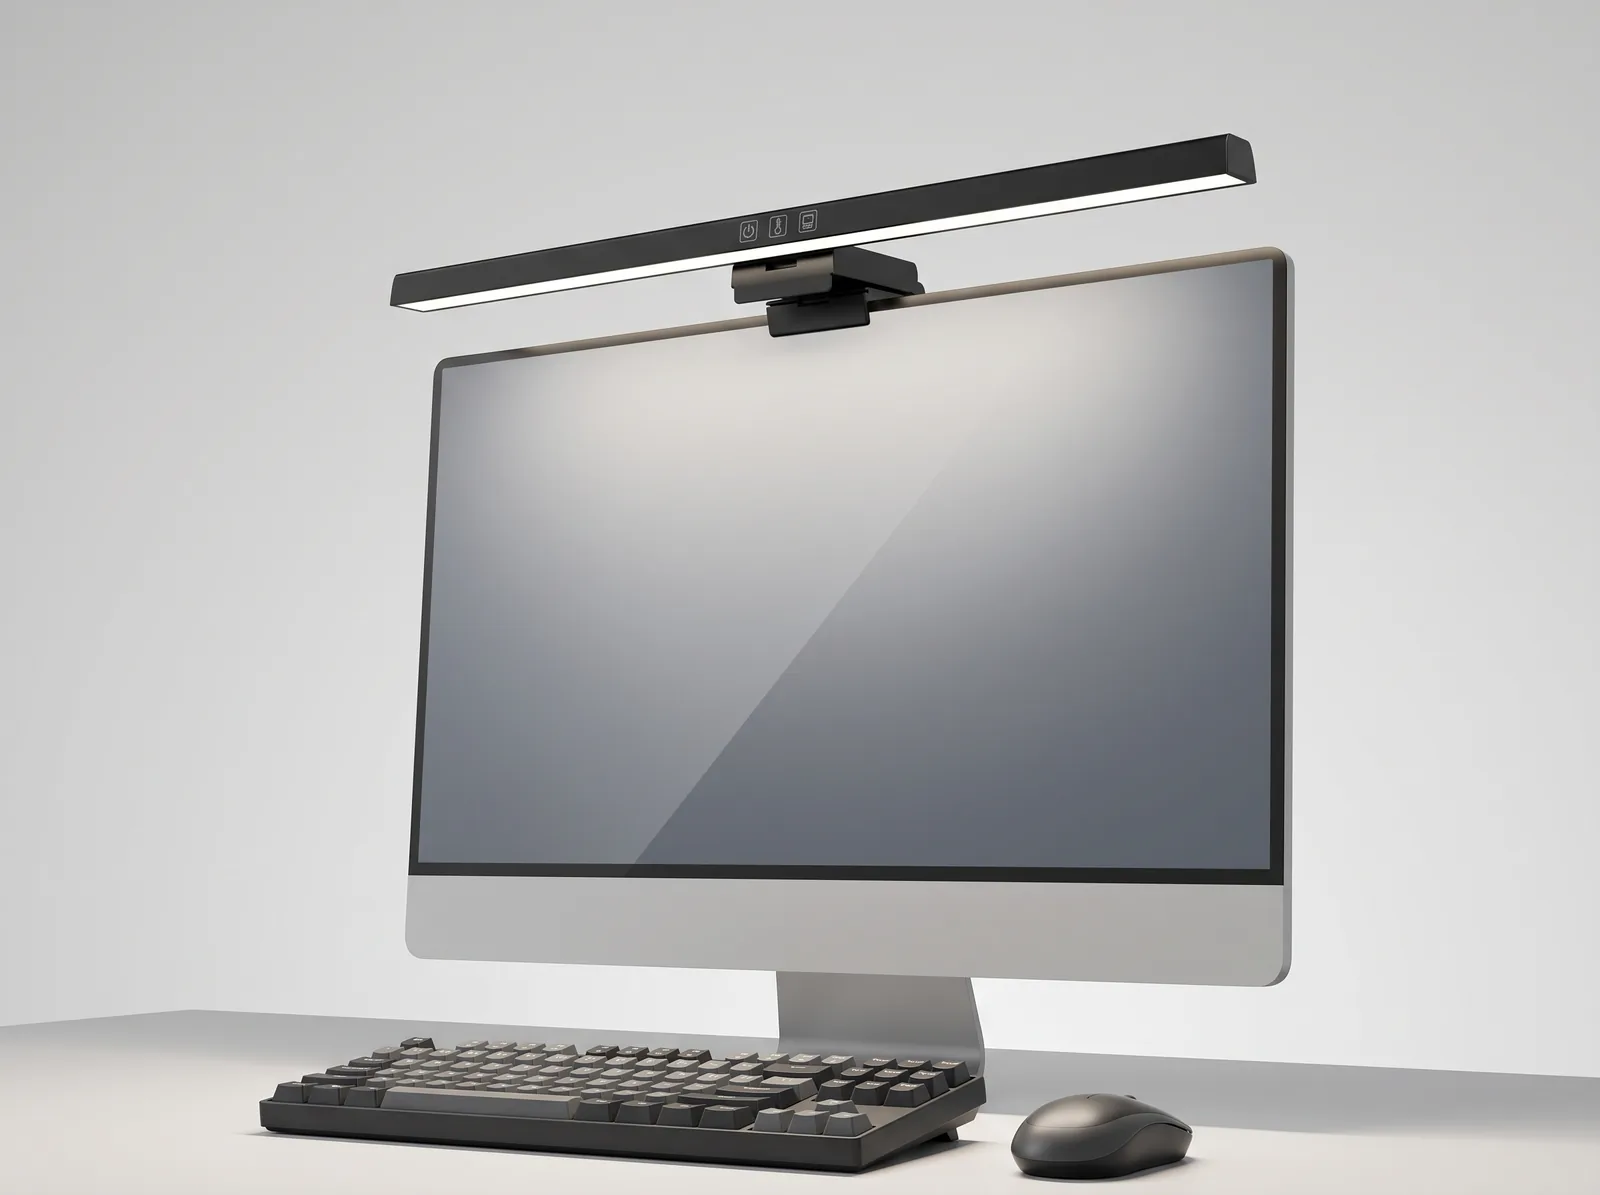
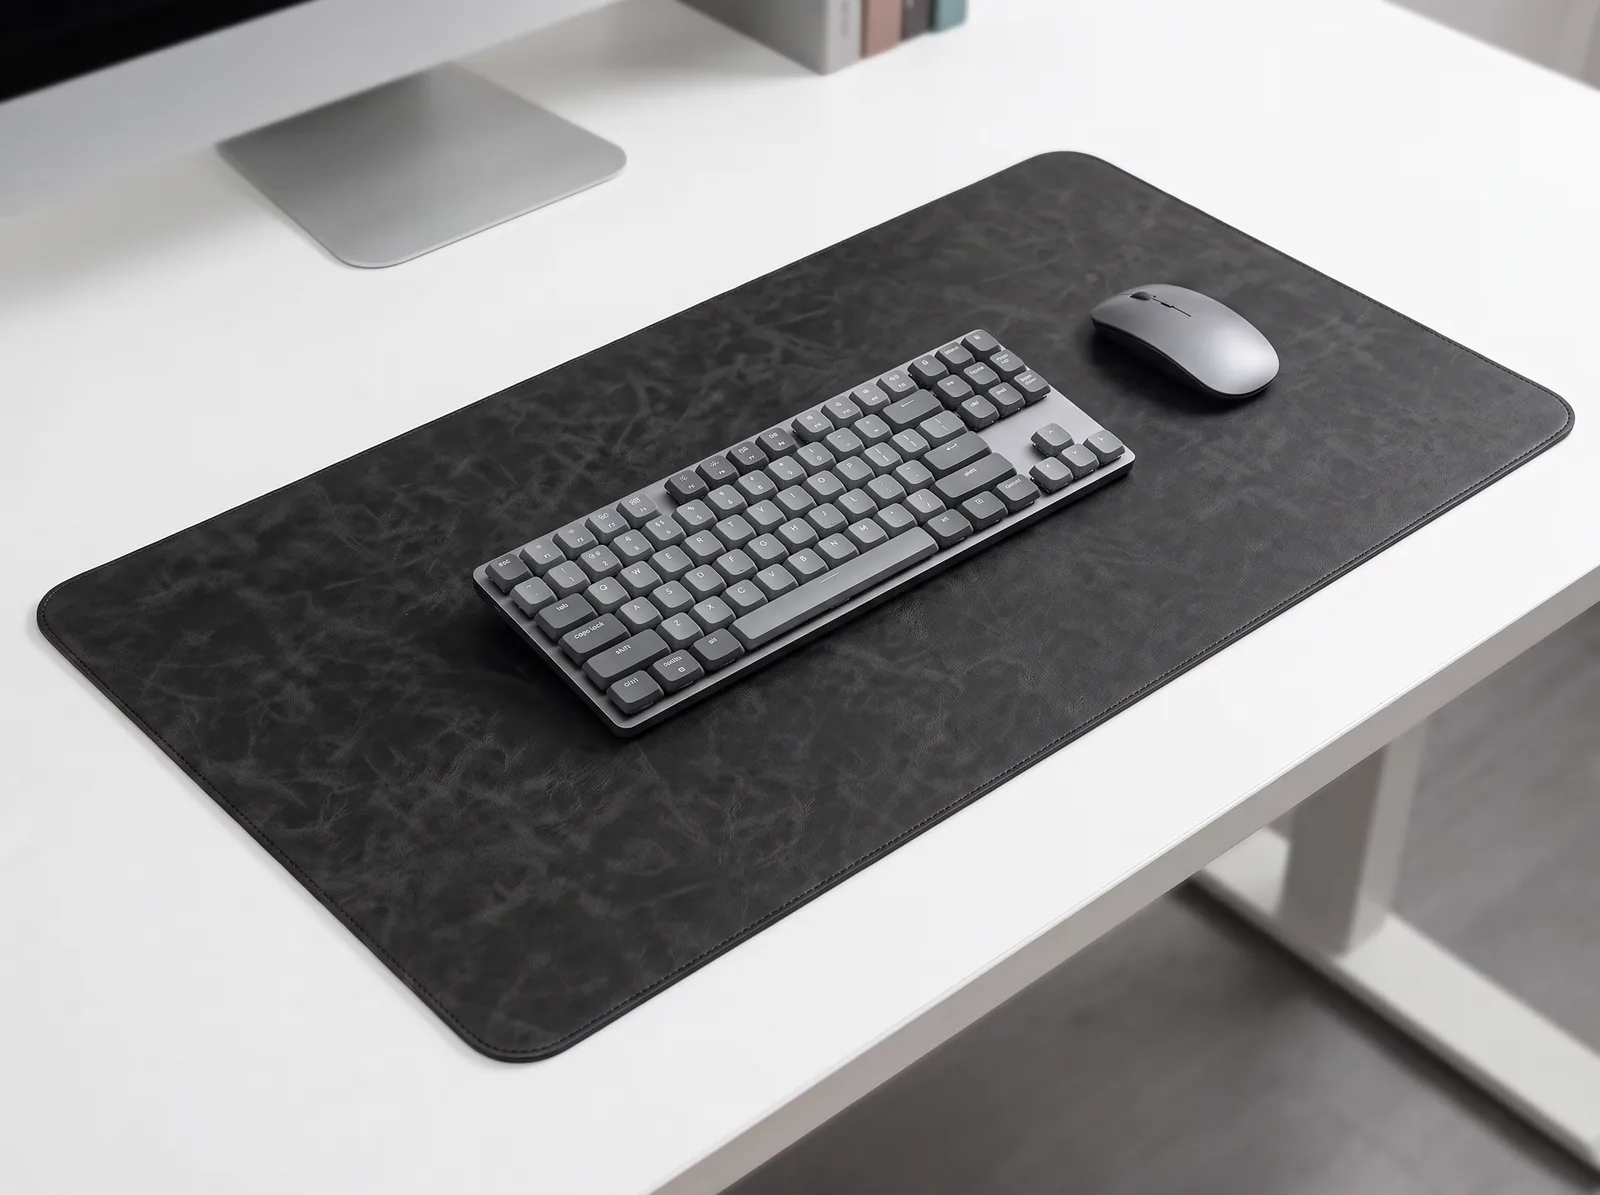
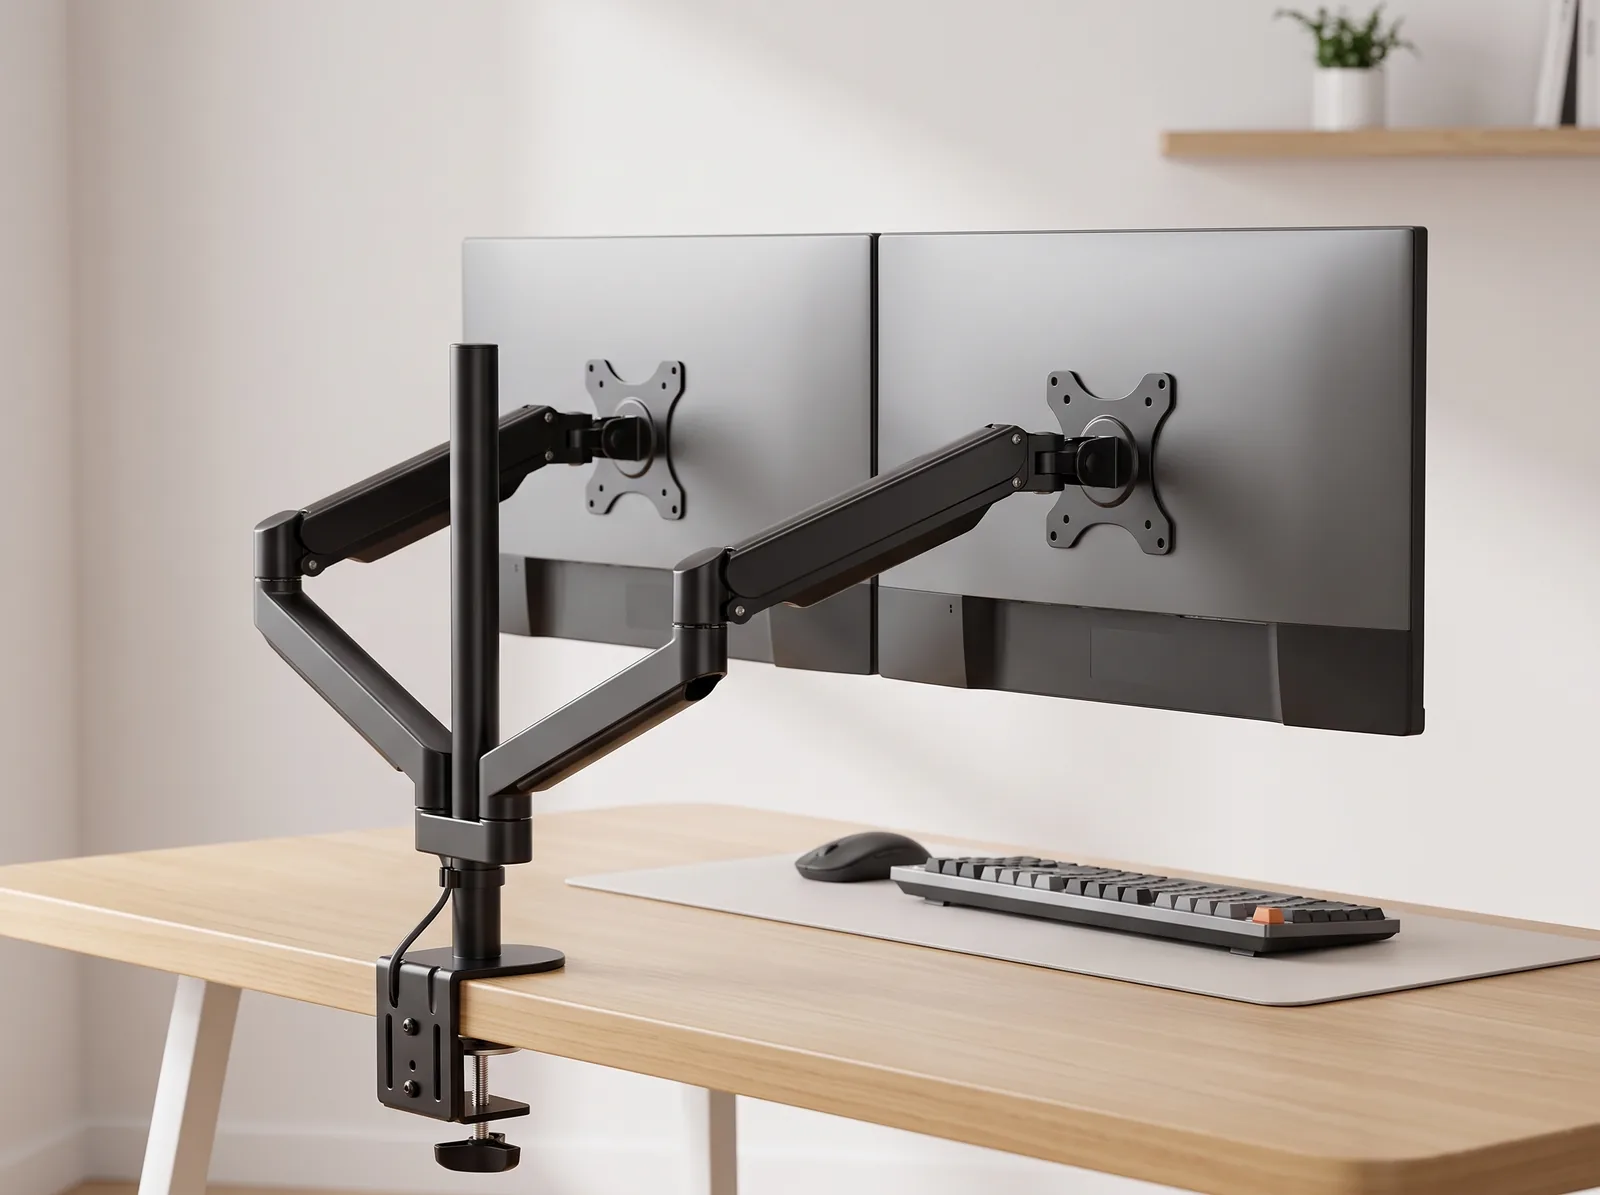
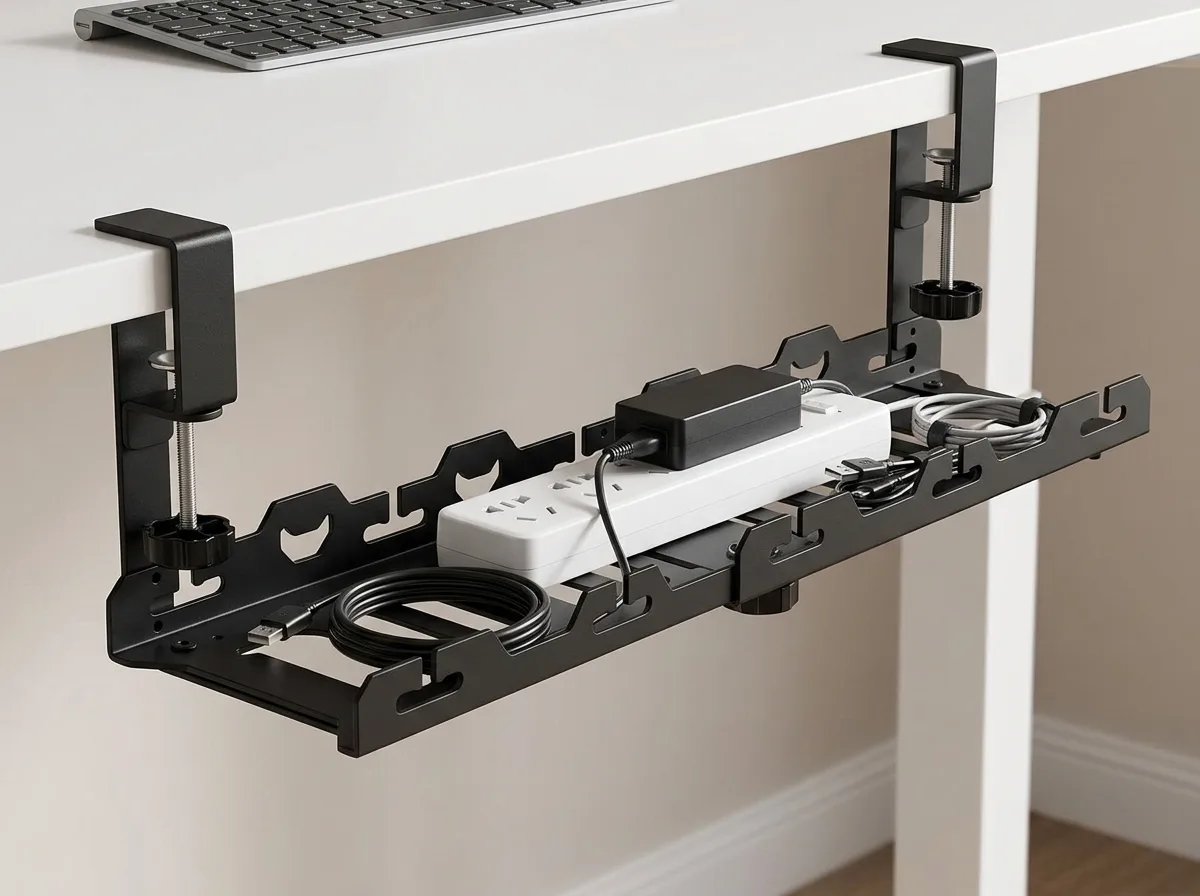
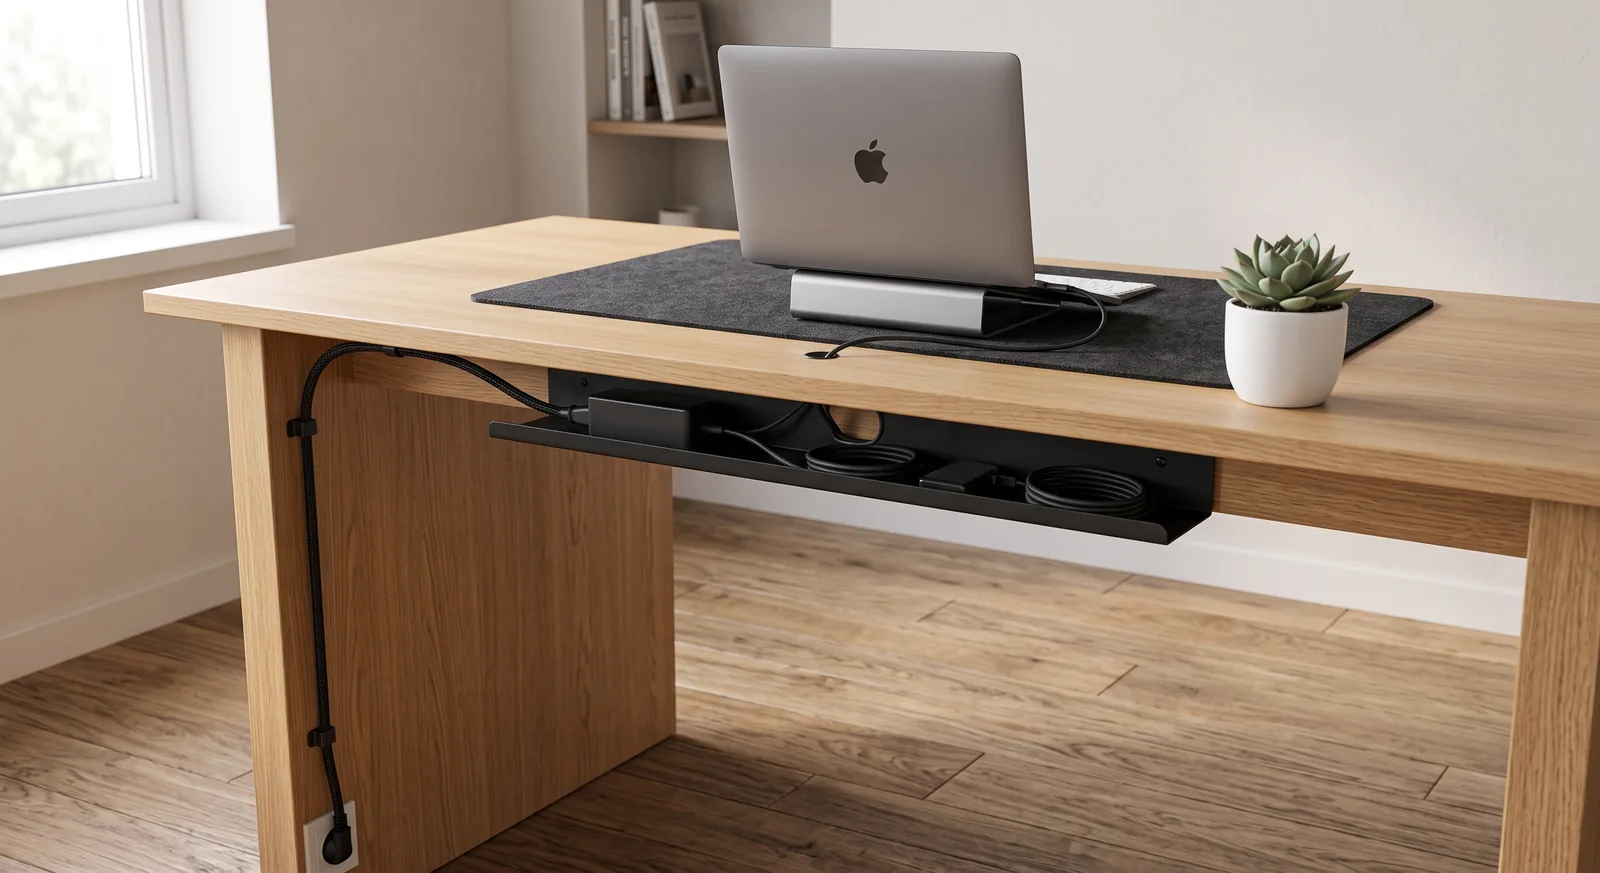
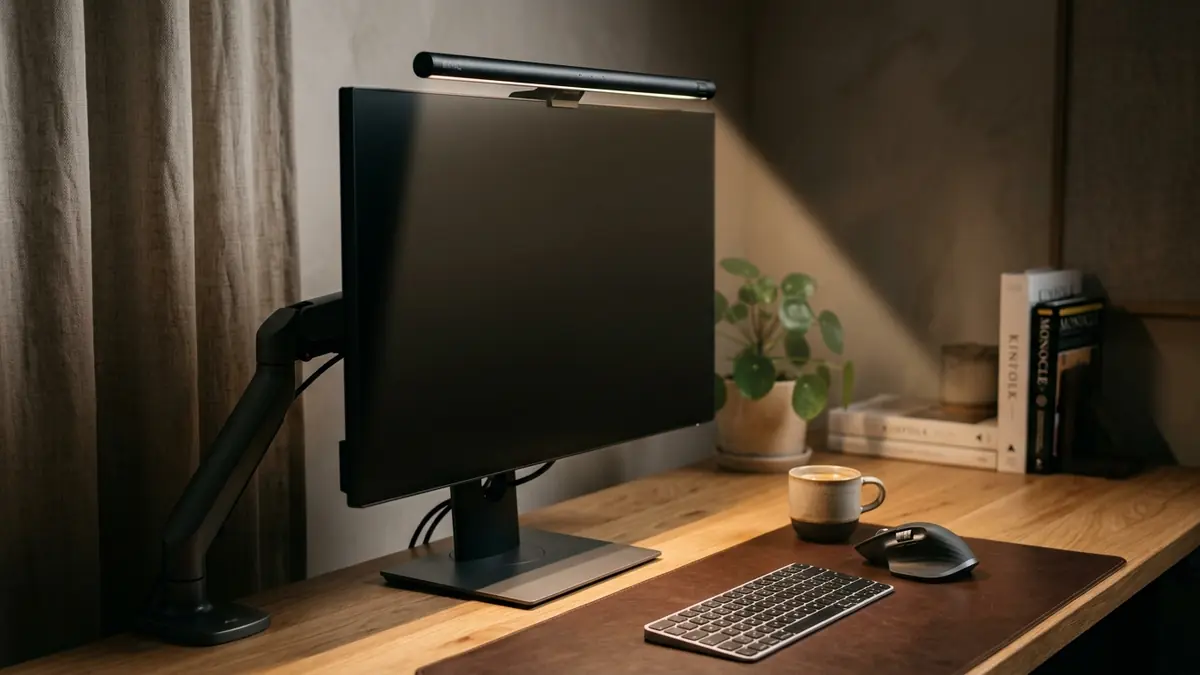
A tangle of dangling wires, drooping power bricks, and messy floor cords is not just an aesthetic nuisance—it creates subconscious cognitive friction that constantly drains your focus. The solution is implementing a structured desk cable management architecture that routes, groups, and conceals every conductor beneath your desktop into a unified channel. In this master guide, I will share the exact commercial-grade wire architecture blueprint I have deployed across hundreds of high-performance spatial audits, giving you a completely cord-free visual workspace in under an hour.
For a complete foundation that includes heavy-duty cable management trays, articulating arms, and surface protection in one box, explore the Advanced Desk Setup Kit.
What Is Desk Cable Architecture?
Desk cable architecture is the systematic engineering of electrical, video, and peripheral wiring across a workstation to ensure clean visual aesthetics, unhindered mechanical movement, and safe thermal dissipation. Rather than haphazardly tucking cords behind monitors, cable architecture establishes dedicated pathway hierarchies that separate high-voltage AC power lines from low-voltage digital data streams.
A cable management system is a combination of tools such as clips, sleeves, and trays used to organize and conceal wires in a workspace.
A standard unmanaged desk setup typically contains between 8 and 14 individual cables: monitor display cords, laptop charging leads, power strip trunk lines, audio interconnects, and lighting cables. When left loose, these wires create three significant workspace problems:
- Cognitive Visual Friction: Tangled lines in your peripheral vision act as visual static, triggering subtle micro-distractions that increase cognitive load.
- Mechanical Port Strain: Dangling heavy transformers pull sideways on delicate USB-C and HDMI ports, causing intermittent signal disconnects and eventual hardware failure.
- Electrical & Tripping Hazards: Loose floor cables collect dust bunnies and pose tripping risks, violating standard workplace safety baselines outlined by the Occupational Safety and Health Administration (OSHA).
Interactive Utility: Standing Desk Cable Slack & Drop Calculator
Use our interactive engineering calculator below to calculate your dynamic vertical stroke travel delta, drop loop slack, and minimum cord lengths for motorized standing desk setups. You can also explore our standalone full-screen calculator page.
🔌 Standing Desk Cable Slack & Drop Calculator
Calculate exact vertical stroke delta, strain relief loop length, and cord ratings
⚡ Cable Length Requirements
The 3-Tier Cable Management Hierarchy
To eliminate wire chaos permanently, professional spatial designers organize workstation cabling into three distinct horizontal zones. Isolating cords by function and location ensures that adding or removing a peripheral never requires untangling your entire setup:
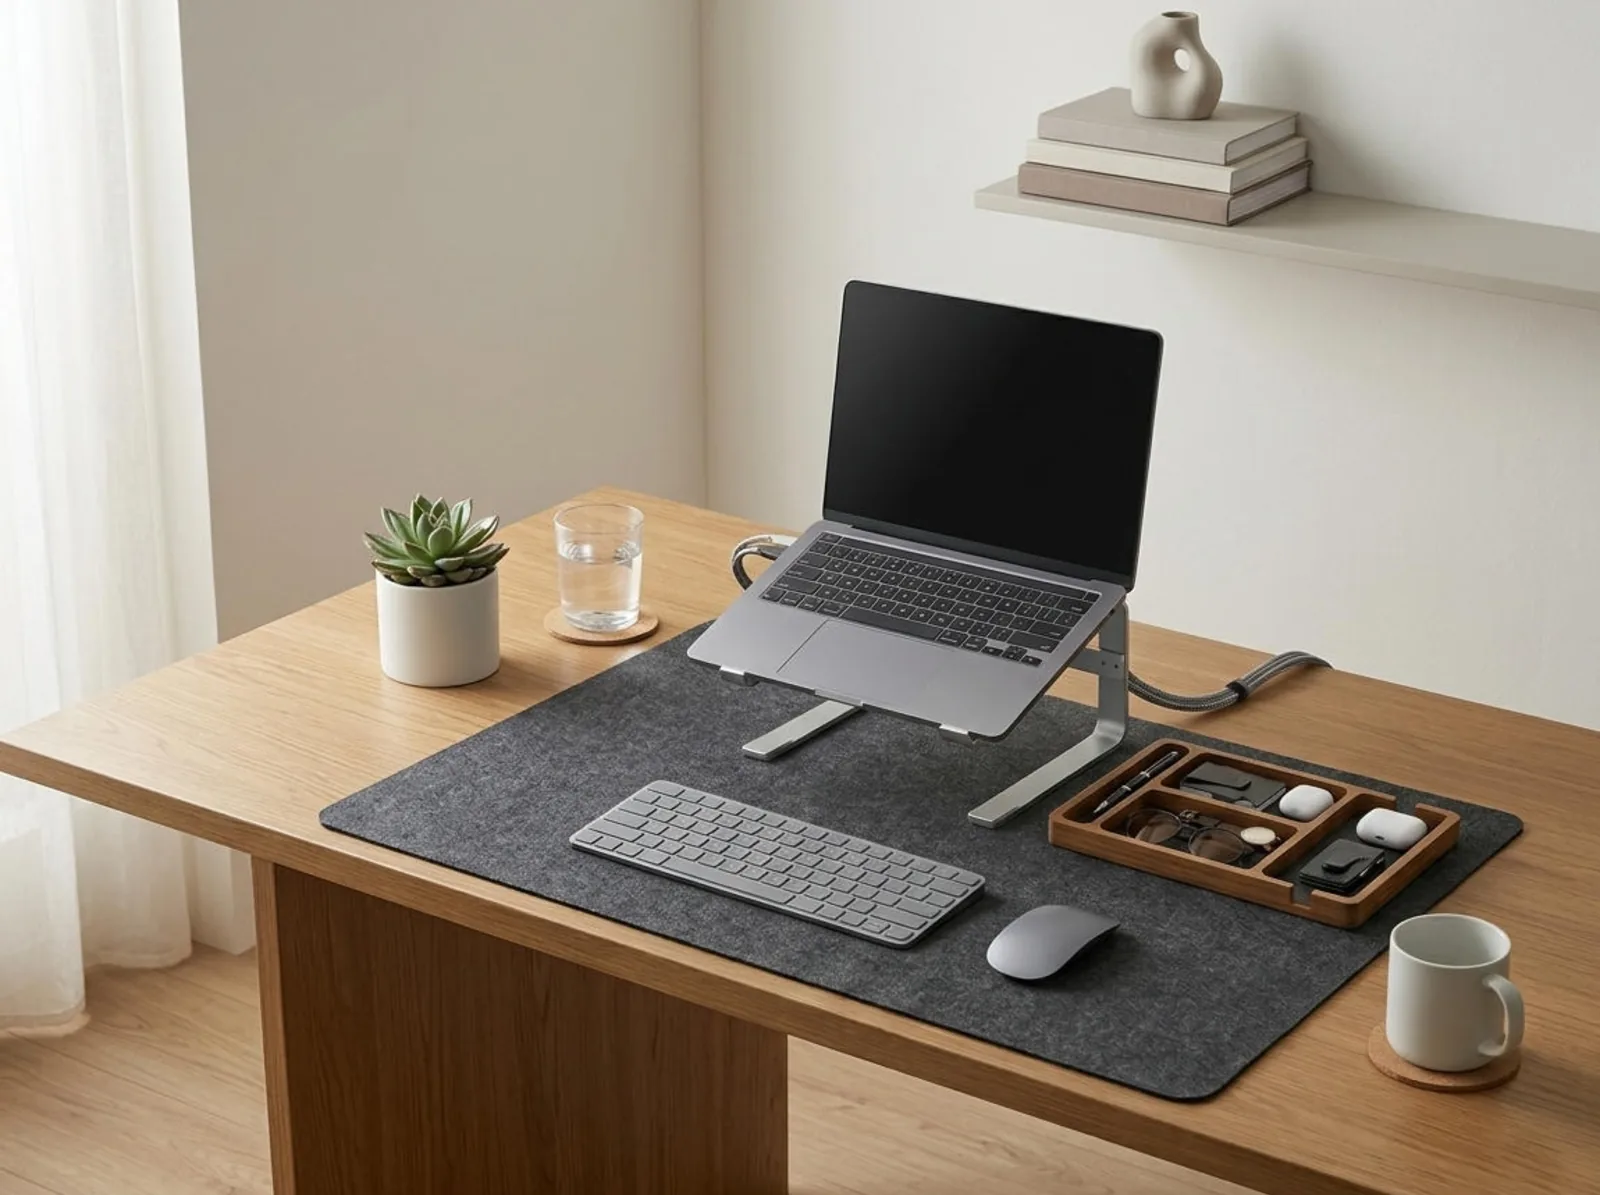
- Tier 1: The Desktop Surface Zone (Zero-Cable Rule): The visible desktop surface must remain entirely free of static cables. The only cords present should be low-profile inputs directly entering keyboards or charging docks, routed immediately through rear grommets or desk pad channels.
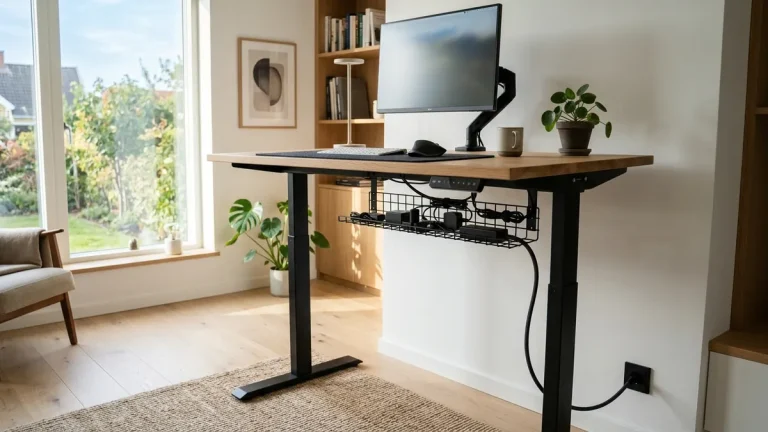
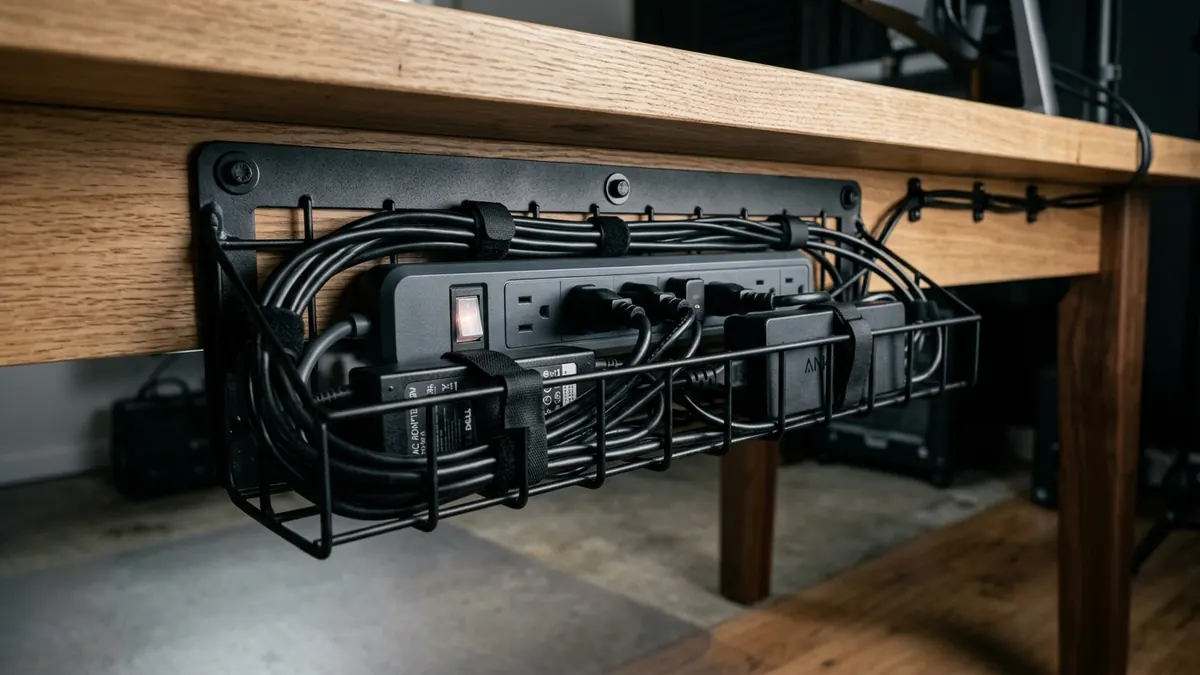
- Tier 2: The Under-Desk Infrastructure Zone (The Brain): All surge protectors, bulky AC transformers, and USB hubs are mounted securely beneath the desk plane inside a high-capacity Under-Desk Cable Management Tray. In compliance with OSHA electrical safety standards (29 CFR 1910.303) and NFPA 70 National Electrical Code guidelines, relocatable power taps must connect directly to permanent wall receptacles and never be daisy-chained.
- Tier 3: The Single-Drop Floor Zone (The Trunk Line): Exactly one master grounded power cable travels from the under-desk tray down to the wall outlet, enclosed in a flexible protective spine or routed flush along the rear desk leg.
Workspace productivity refers to the efficiency and output quality achieved through an intentionally designed and organized work environment.
In over 400 workspace evaluations, implementing this 3-tier hierarchy reduced subsequent cable maintenance time by 90% when clients upgraded laptops or swapped monitors.
How Do You Manage Cables on a Height-Adjustable Standing Desk?
Managing cables on a height-adjustable standing desk requires securing all power supplies directly to the underside of the moving desktop and providing a calibrated 14-to-16-inch dynamic slack loop on the single master power drop. This ensures that elevating the desk to standing height never pulls or snags electrical connections.
Standing desk cable management requires maintaining adequate slack in the master drop cable to accommodate full vertical travel without placing tension on wall sockets.
The most common failure on standing desks is plugging power bricks into wall outlets near the floor and running individual 6-foot cables up to each display. When the desk rises to standing height (38–46 inches), these cords become taut violin strings, damaging monitor ports and pulling plugs loose. Follow these three rules for standing desks:
- Anchor Power to the Desktop: Mount a 6-to-8 outlet surge protector directly inside your Under-Desk Cable Tray so all hardware moves in unison with the desktop.
- Route Monitor Cords Through Arm Channels: Feed display cables through the internal channels of your Dual Monitor Arm Stand or Gas Spring Mount, leaving 4 inches of loop slack at the articulating elbow joint.
- Calculate Travel Range: Raise the desk to its absolute maximum standing preset before anchoring the single master floor drop cable with an adhesive clip on the rear leg.
Read our step-by-step tutorial on mastering standing desk cable management.

Under-Desk Trays vs. Plastic Raceway Channels: Which Is Better?
Open steel wire mesh under-desk trays are superior to enclosed plastic raceway channels for workstation cable management because they accommodate oversized power bricks, provide 360-degree heat dissipation, and allow quick cable re-routing without disassembling adhesive plastic covers.
| Feature | Steel Wire Mesh Under-Desk Tray | Enclosed Plastic Raceway Channel | Design & Practical Advantage |
|---|---|---|---|
| Transformer Capacity | Holds 2–3 large laptop power bricks + power strip | Limited to thin cords (cannot fit transformers) | Steel trays eliminate floor power bricks completely |
| Thermal Management | Open airflow prevents heat buildup | Traps heat inside enclosed plastic track | Protects charging blocks from thermal throttling |
| Cable Accessibility | Drop-in pass-through from any angle | Requires sliding/snapping narrow plastic covers | 10-second peripheral swaps vs. tedious teardowns |
| Mounting Security | Heavy-duty steel screws or non-damaging clamps | Foam adhesive tape (prone to peeling off) | Permanent structural support for up to 15 lbs of gear |
For more detailed hardware comparisons, review our analysis of cable trays vs. cable sleeves for desk organization.
Routing Multi-Monitor and Peripheral Cables with Articulating Arms
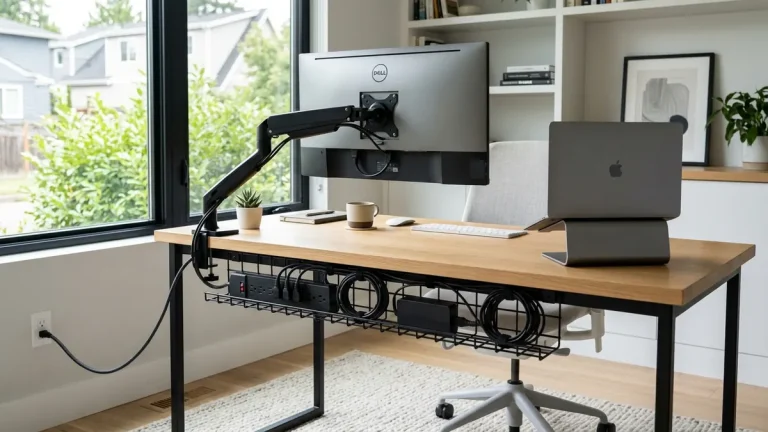
Articulating monitor arms provide built-in channel architecture that completely conceals heavy HDMI, DisplayPort, and power leads behind the arm chassis. Proper routing requires grouping cables with hook-and-loop ties and leaving subtle expansion loops at each pivot joint so screens can tilt and rotate freely.
An ergonomic monitor arm maintains optimal viewing distance at 20 to 30 inches while elevating the screen to eye level and concealing video and power cords inside internal raceways.
When wiring a dual-screen setup:
- Group Cables by Screen: Bundle the power and video cables for Monitor 1 together using reusable fabric ties, and repeat for Monitor 2.
- Feed Through Snap Channels: Insert the bundles into the integrated underside raceways of the Dual Monitor Arm Stand.
- Drop Directly into the Under-Desk Tray: Guide the cables out of the base of the arm mount directly down into the Under-Desk Cable Tray, rendering them 100% invisible from seated eye level.
Learn more about display alignment in our companion guide on ergonomic workstation alignment.

Step-by-Step Cable Management Blueprint (The 5-Step System)
Follow this exact sequential protocol to wire your workspace cleanly and permanently:
- Step 1: The Total Unplug & Reset: Unplug every single power and data cord from your desk. Clear the desktop completely and wipe the underside clean.
- Step 2: Mount the Under-Desk Cable Tray: Clamp or screw your steel Under-Desk Cable Tray beneath the rear-center of your desk. Place your multi-outlet surge protector inside.
- Step 3: Route Fixed Displays & Articulating Arms: Mount your monitors on their arms, feed display cables through the internal arm channels, and plug their power bricks directly into the under-desk surge protector.
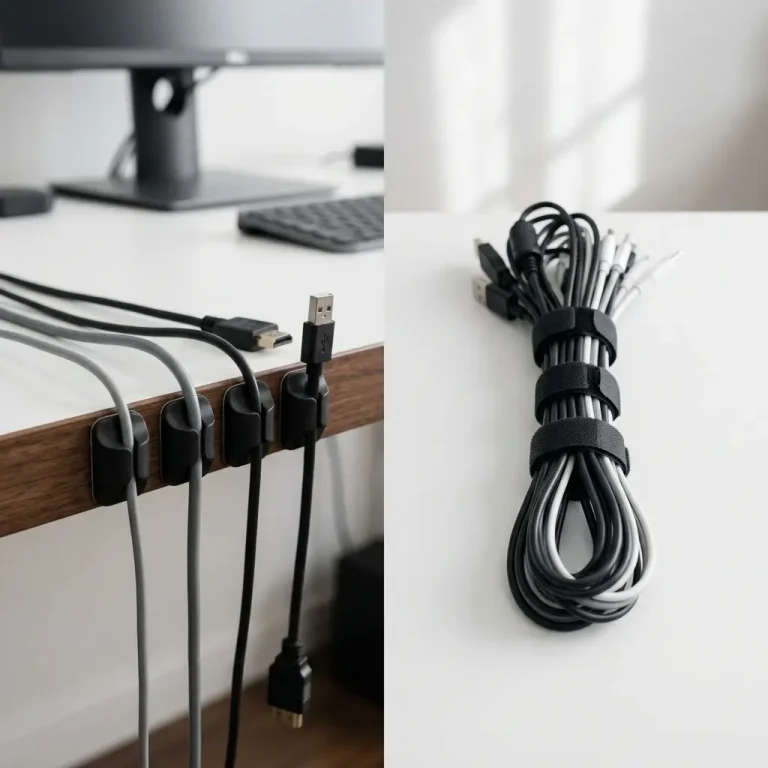
- Step 4: Bundle and Coil Excess Length: Use hook-and-loop wraps to coil excess wire length neatly inside the tray. Never bend digital optical or high-speed HDMI cables past a 90-degree tight radius.
- Step 5: Anchor the Master Drop Trunk Line: Connect the surge protector’s master power cord to the wall outlet, clipping it to the rear desk leg with enough slack for maximum standing desk height.

Frequently Asked Questions
What is the most effective tool for desk cable management?
A high-capacity, open-wire steel under-desk cable tray is the single most important tool. It acts as the central hub beneath your desk to hold power strips, bulky AC transformers, and coiled excess cables off the floor.
How do I manage cables if my desk cannot be drilled into?
Use clamp-on under-desk cable management trays that attach securely to the rear desk edge using padded screw clamps. They provide the same heavy-duty weight support without causing any cosmetic damage to your desktop finish.
Are plastic zip ties or fabric hook-and-loop straps better for cables?
Fabric hook-and-loop straps are much better than plastic zip ties. Zip ties pinch delicate insulation, risk cutting wires during removal, and cannot be reused. Hook-and-loop straps allow instant adjustments whenever you change hardware.
How much slack should I leave on standing desk cables?
You should leave 14 to 16 inches of relaxed slack on the single master power drop cable when the desk is fully raised to its maximum standing preset height. This prevents tension on wall outlets and equipment ports.
Does cable management improve workspace productivity?
Yes. Visual decluttering research demonstrates that removing chaotic cord nests from your peripheral vision reduces cortisol and mental fatigue, allowing you to sustain deeper cognitive focus during analytical tasks.
How do I hide power blocks and heavy laptop chargers?
Place heavy power blocks inside a ventilated under-desk steel tray directly next to your surge protector. Secure them with hook-and-loop straps so they remain firmly seated without dangling from their connection points.